
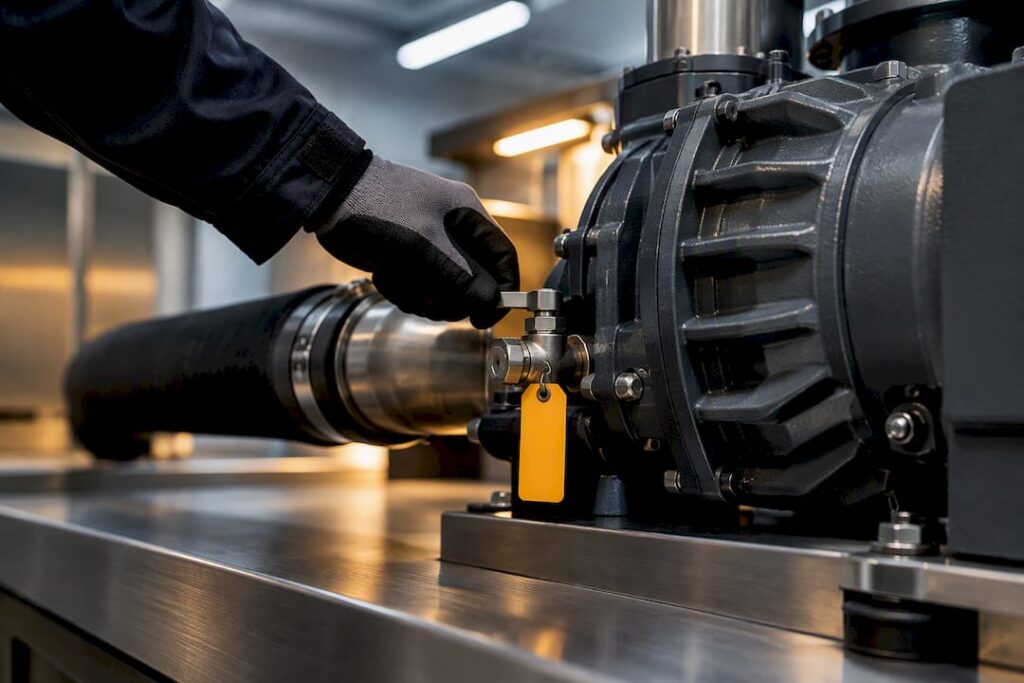
When vacuum performance drops on your CNC router, stop the job, check the vacuum gauge and motor current, and confirm lock-out/tag-out before touching anything. If the gauge reads well below your baseline and the filters look clean, the fault is likely internal, and that’s the point where it is recommended to stop guessing and start measuring, or call a technician.
TL;DR:
- Regular trend analysis of vacuum and motor current readings can detect wear or failure signs before performance drops or pumps seize.
- Typical issues like saturated filters, sticking vanes, or air leaks are common causes of vacuum loss and are often fixable through routine cleaning or seal replacement.
- For cost-effective maintenance, repair external faults yourself, send worn parts for professional rebuilds, and replace pumps only when repairs no longer restore efficiency.
- Safety procedures, including lock-out/tag-out, are crucial before any internal inspection or repair to prevent injuries from seized or overheated pumps.
- Short daily checks of vacuum levels and hoses can prevent days of downtime by catching slow drifts or leaks early.
Table of Contents
- Diagnose: repair, overhaul or replace the pump?
- Common faults and how to fix them
- Building a preventive maintenance schedule that sticks
- Repair, rebuild or replace: the real cost trade-off
- Safety first: what Anderson’s experience says about doing this right
- What one small check can save you
- Get help from Anderson Group Australia’s service team
- Sources
- FAQ
Diagnose: repair, overhaul or replace the pump?
Vacuum pump maintenance starts with a proper diagnosis, not a parts order. Before you decide anything, run these checks in order:
- Read the vacuum gauge at the pump inlet with the system sealed. Compare it against the reading you logged when the pump was new or last serviced.
- Check motor current with a clamp meter against the nameplate amperage. A steady climb over weeks points to internal drag, worn bearings, or a failing capacitor.
- Hand-rotate the shaft (with power isolated) to feel for binding, grinding, or uneven resistance, a classic sign of vane sticking in rotary vane units.
- Inspect the separator and inlet filter for oil saturation, debris, or a collapsed element restricting airflow.
- Look for visible leaks at hose fittings, union seals, and the manifold gasket.
Trending your readings against the manufacturer’s performance curve tells you more than any single snapshot. A pump running noticeably below its rated vacuum with clean filters usually has internal wear. A pump that’s fine at startup but degrades within minutes often has a heat or contamination issue rather than mechanical failure.
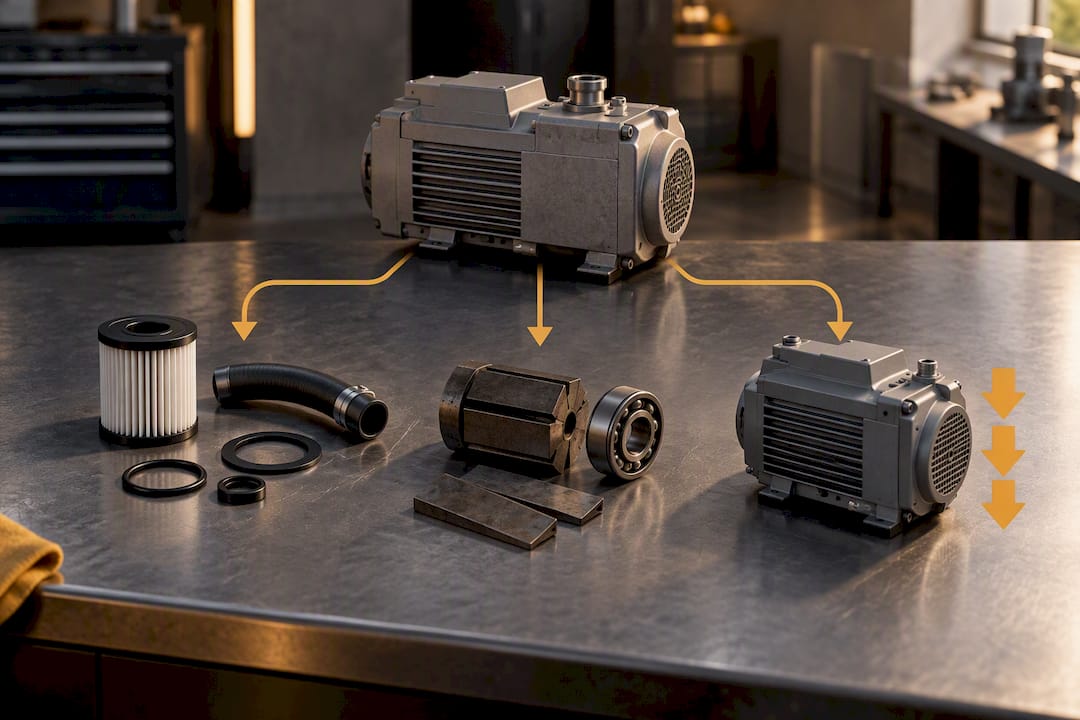
Repair it yourself if the fault is external (filters, hoses, seals). Send it for professional rebuild if vanes, bearings, or seals are worn but the housing and motor are sound. Replace it if motor current keeps drifting upward after a rebuild, or if you’re chasing the same fault for the third time in a year.
Common faults and how to fix them
Most CNC vacuum pump problems trace back to five recurring issues, and each has a fairly predictable fix.
- Blocked filters and full separators. A saturated inlet filter or overfull separator is the single most common cause of gradual vacuum loss on CNC routers. Pull the element, check for oil staining or dust caking, and clean or replace it before assuming a mechanical fault.
- Sticking or worn vanes. On DST dry-running rotary vane pumps, vanes commonly stick when contamination enters the compression chamber, rather than failing outright. Pull the end cover, measure vane length against the manufacturer’s minimum spec, and free any vane that’s stuck in its slot before condemning the whole rotor.
- Liquid or resin ingress. If coolant, resin dust, or condensate has entered the chamber, isolate the pump, drain and flush according to the manufacturer’s procedure, and dry it fully before restarting. Running a contaminated pump even briefly accelerates vane wear.
- Overheating and motor trips. A pump that trips its thermal overload repeatedly is often not a motor fault at all. Manually rotating the shaft after it’s cooled often reveals vane binding as the real cause, so check that before swapping the motor.
- Air ingestion and hose collapse. Cracked hoses, loose union fittings, and a poorly sealed spoilboard all force the pump to work harder for less vacuum. Simple operator habits, like edging the spoilboard properly and using correctly sized suction cups, can noticeably cut the load on the pump.
Pro Tip: Keep a laminated card near the pump listing your baseline vacuum reading and motor current. New operators often chase phantom faults simply because they don’t know what “normal” looks like.
Building a preventive maintenance schedule that sticks
A schedule only works if operators actually follow it, so keep each tier short enough to fit into a shift change.
- Daily (start of shift): Check the vacuum gauge against baseline, glance at the separator fluid level, listen for grinding or knocking, and eyeball hoses for kinks or cracks.
- Weekly: Clean or replace inlet filters, check breather caps for blockage, and log the vacuum reading against last week’s figure.
- Monthly to quarterly: Inspect carbon vanes for wear against the manufacturer’s minimum length, grease bearings where the pump design calls for it, and sample fluid on liquid-filled systems for contamination.
- Annual: Full internal inspection, seal and vane replacement as needed, and a performance test against the original manufacturer curve.
Practical PM programmes built around short monthly visual checks, weekly filter cleaning, and quarterly fluid analysis catch most developing faults before they cause unplanned downtime.
Record every reading, not just the ones that look wrong. A vacuum level that’s slowly dropped from 25 to 20 inHg over six months tells you far more than any single reading in isolation, and that trend line is what should drive your rebuild timing, not the calendar. Our CNC preventive maintenance checklist covers how to structure this log so it’s actually useful six months from now, not just a box you tick.
Repair, rebuild or replace: the real cost trade-off
A rough rule in many shops is if a repair costs less than a significant portion of a new pump’s price and can genuinely restore rated performance, repair it. Beyond that threshold, you’re usually just delaying the inevitable replacement while absorbing more downtime.
Watch for these red flags that point straight to replacement rather than another rebuild:
- Persistent cavitation noise that returns within weeks of a service.
- Metal particles showing up in the oil or separator on repeat inspections.
- Motor current that keeps climbing after each fix, rather than settling.
- The same fault recurring three or more times within twelve months.
A professional rebuild should include new vanes, seals, and bearings, plus a documented performance test afterward, not just a clean and reassemble. If you’re specifying a replacement, confirm the control logic (timer versus PLC), the correct phase and voltage, discharge volume in cc/min, and whether the pressure switch wiring is normally open or normally closed. Get that wrong and you’ll trip alarms on day one.
Safety first: what Anderson’s experience says about doing this right
Experience shows that skipped safety steps cause more injuries than worn parts ever do.
Lock-out/tag-out procedures are mandatory before any internal inspection, full stop. Isolate power, tag the switch, and verify zero energy before you open a single cover.
A short list worth pinning to the wall:
- Never restart a pump that’s seized or tripped on thermal overload without investigating first.
- Never open the pump housing without confirming isolation at the source.
- Never bypass a pressure switch or safety interlock to “get through the shift.”
What one small check can save you
I’ve watched a fifteen-minute vacuum gauge check on a Monday morning save a shop three full days of downtime later that month, simply because someone noticed a slow drift and flagged it before the pump seized mid-job. The trick isn’t running more checks, it’s running the right ones at a frequency that doesn’t fight your production schedule. Daily checks should take minutes, not shift-disrupting inspections; save the deeper dives for planned downtime.
— Anderson
Get help from Anderson Group Australia’s service team
There are service options offering direct access to spares, onsite diagnostics, and scheduled PM contracts backed by a team that supports your CNC machine’s other systems, not a separate vacuum specialist you have to loop in.

Before you call, photograph the nameplate, note your last vacuum gauge reading, and jot down when the fault started. That handful of details usually cuts diagnostic time on the phone in half. If your fixturing itself is contributing to pump load, our guide on vacuum fixturing for CNC work is worth a read alongside this one. And if the pump turns out to be beyond economical repair, browse the machines and service options supported, or get in touch through the main site to book a diagnostic visit.
Sources
For deeper technical detail beyond this playbook, the DST dry-running vane troubleshooting guide covers rotary vane fault patterns in more depth, and Becker’s maintenance guidance sets out vane measurement intervals and service kit recommendations. For workplace safety compliance, refer to the University of Wollongong’s LOTO guidelines. To reduce contamination risk at the source, see our notes on CNC dust collection.
- How to troubleshoot DST dry-running rotary vane vacuum pumps — CNC Clamping
- Top maintenance tips for centrifugal canned motor pumps — Hydrodyne Teikoku
- Rotary vane vacuum pump for CNC router machine — EVP Vacuum Solution
FAQ
How do I maintain my vacuum pump?
Run daily gauge and separator checks, clean filters weekly, inspect vanes and bearings monthly to quarterly, and complete a full internal inspection annually. Trending your vacuum and motor current readings against baseline catches most faults before they cause downtime.
What are the most common issues with vacuum pumps?
Blocked filters, sticking vanes, air leaks at hoses and fittings, and liquid or resin contamination account for most CNC vacuum pump faults. Saturated inlet filters and full separators are consistently the leading cause of gradual vacuum loss.
How often does vacuum pump oil need to be changed?
This depends on the pump type and duty cycle, but liquid-filled systems typically need fluid sampling quarterly and a full change on the manufacturer’s recommended interval, often found in the pump’s own service manual. Heavy contamination or discoloured oil warrants an immediate change regardless of schedule.
Should there be oil in a vacuum pump?
Rotary vane pumps generally need oil for lubrication and sealing, while DST dry-running pumps are designed to operate without it. Check your pump’s nameplate and manufacturer documentation to confirm which type you’re running before adding or draining any fluid.
When should I call a technician instead of fixing it myself?
Call a technician if motor current keeps drifting upward after you’ve cleaned filters and freed the vanes, or if the same fault has recurred three or more times within a year. A service team can run onsite diagnostics and advise whether a rebuild or full replacement machine option makes more sense for your production schedule.