
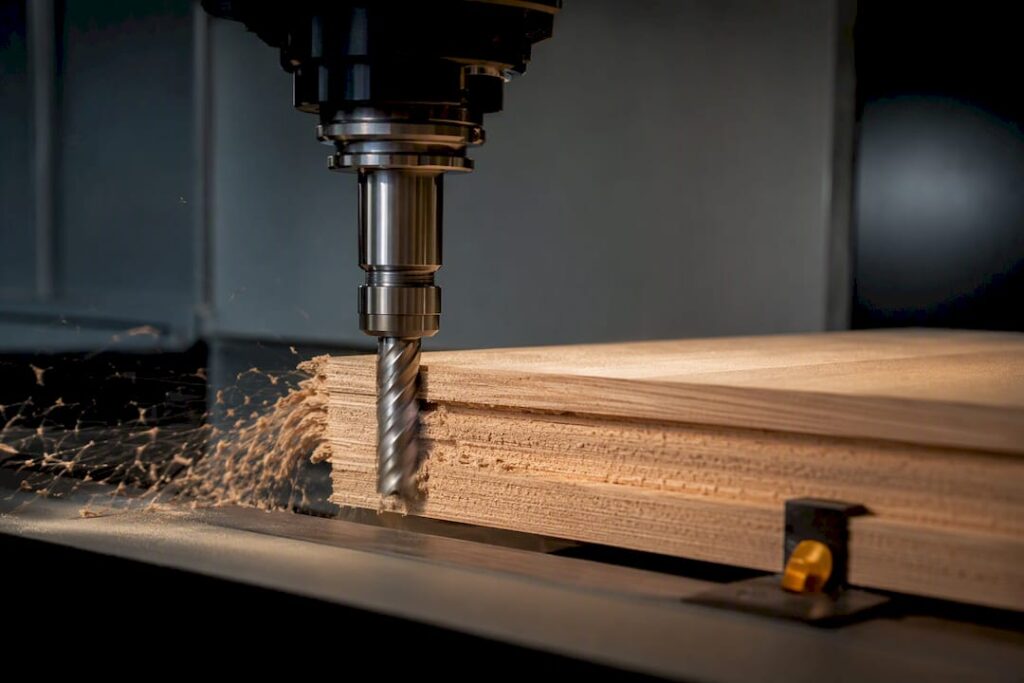
Use climb milling for light finish passes on rigid, well-fixtured machines, and use conventional milling for heavy stock removal or on machines with backlash. The reason comes down to chip thickness: climb starts thick and thins out, giving a cleaner shear; conventional starts at zero and rubs before it bites. Climb also pulls the workpiece down and into the cutter, so it demands solid vacuum hold-down or clamping before you trust it with anything but a light pass.
TL;DR:
- Climb milling is ideal for light finishing passes on rigid, well-fixtured machines due to its cleaner shear and reduced heat transfer, improving surface finish.
- It requires low backlash and firm hold-downs, as the downward forces can pull the workpiece into the cutter, posing safety and setup risks.
- Conventional milling is better suited for heavy roughing or machines with backlash because it generates upward forces and is more forgiving of workholding imperfections.
- Material type influences method choice: climb milling benefits aluminum and composites for finish quality, while hardened steels often start with conventional roughing.
- Proper setup—including checking machine rigidity, workholding, and chip evacuation—is crucial for safe and effective climb milling operation.
Table of Contents
- What climb and conventional cutting actually mean
- Why the forces, heat and finish differ so much
- Advantages, disadvantages and a quick decision checklist
- Setting up the machine and workholding so climb is safe to run
- Dialling in feeds, speeds and pass strategy
- Shop-floor checks and troubleshooting for climb milling
- How Anderson Group Australia can help with machine and fixturing choices
- Sources
- FAQ
What climb and conventional cutting actually mean
Conventional milling, also called up milling, feeds the workpiece against the direction of cutter rotation. Climb milling, or down milling, feeds the workpiece in the same direction the cutter is spinning. The distinction sounds trivial until you look at what happens to the chip.
In conventional cutting, each tooth enters the material at zero chip thickness and rubs before it starts cutting properly, then the chip thickens as the tooth exits. That initial rubbing phase is where a lot of tool wear and heat come from, according to a machine shop guide from Washington University. In climb cutting, the tooth bites in at maximum chip thickness and thins out as it exits, so there’s no rubbing phase and the heat tends to move into the chip instead of the workpiece.
Two things worth keeping straight:
- Feed direction relative to spindle rotation determines the method, not the direction the cutter is physically travelling around a part.
- Feed-per-tooth still governs chip load either way, but the point in the cut where that chip is thickest shifts from the end (conventional) to the start (climb).
Why the forces, heat and finish differ so much
The mechanical difference between the two methods isn’t academic. It shows up directly in tool life, finish and how easily a machine handles the cut.
Because climb milling starts with maximum chip thickness, more of the cutting heat gets carried away in the chip rather than soaking into the tool and workpiece, and the shear plane tends to form more cleanly, according to the same Washington University comparison. Conventional milling’s rubbing phase at zero chip thickness does the opposite: more friction, more heat transferred into the cutting edge, and a greater chance of work hardening in materials prone to it.
Chip formation is the deciding variable in this comparison, per the same source: climb’s thick-to-thin chip reduces rubbing, while conventional’s thin-to-thick chip increases it. That single mechanical fact explains most of the downstream differences in wear and finish.
Force direction matters just as much:
- Conventional milling generates upward forces that can lift a lightly clamped workpiece, which is one reason it’s often favoured for heavy roughing where holding the part down is already a challenge.
- Climb milling generates downward forces that help pin the part to the table, but only if backlash is low and the fixturing is firm enough to resist being pulled into the cut.
- Poor chip evacuation in either method can cause re-cutting, where chips get trapped and reground by the cutter, degrading finish and accelerating wear regardless of milling direction.
Surface finish and tool life outcomes vary by material. Climb tends to leave a better finish on wood-based panels and composites because there’s less tear-out at the exit edge; on aluminium, the same downward force helps control chip flow but heat still needs to be managed with adequate coolant or air blast; on tougher steels, the rubbing phase in conventional cutting can accelerate edge wear faster than in softer materials.
Advantages, disadvantages and a quick decision checklist
Neither method is universally better. The right call depends on the cut you’re making and the machine you’re making it on.
Climb milling’s advantages centre on finish quality: less rubbing, cleaner shear, and chips that get thrown clear of the cut path instead of sitting under the tool. It’s the better default for finish passes on a rigid machine with good workholding. Its main disadvantage is that it needs low backlash and firm hold-down to be safe; on a loose machine, the cutter can grab and pull the workpiece.
Conventional milling’s advantages show up in roughing: the upward force keeps chip load predictable even on machines with some backlash, and it’s more forgiving if your workholding isn’t perfect. Its disadvantage is the rubbing phase, which costs you tool life and finish quality compared with climb, and it’s rarely the right choice for a final pass on a visible face.
Material notes worth remembering:
- Compression cutters on melamine and MDF often benefit from a climb finishing pass to avoid chipping the top laminate, provided the spoilboard and vacuum hold-down are solid.
- Aluminium favours climb for finish work, but chip evacuation and heat control become the limiting factor at higher feed rates.
- Hardened or tough steels often start with conventional roughing passes to manage tool load, with climb reserved for a light final pass once the machine and setup are proven capable.
A quick shop checklist before switching methods: check machine backlash and rigidity, confirm workholding or vacuum strength, consider your depth of cut and decide what finish the part actually needs.
Setting up the machine and workholding so climb is safe to run
Climb milling only works as advertised when the machine backs it up. Backlash in the ball screws or drive train lets the cutter grab and pull the workpiece into the cut instead of feeding smoothly, which is the main reason older or loosely maintained machines are steered toward conventional cutting for anything beyond a light pass. Servo tuning and table rigidity matter just as much: a machine that flexes under load will chatter regardless of milling direction, but climb makes that weakness more obvious.
Workholding is the other half of the equation. On nesting routers and panel-processing machines, that means solid vacuum zones and a spoilboard that’s been properly flycut, plus onion-skinning or tabbing to keep small cut-out parts from lifting once the last pass separates them, as recommended in panel-processing best practice guidance. Our guide on CNC workholding methods covers fixture options in more depth for machining centre work.
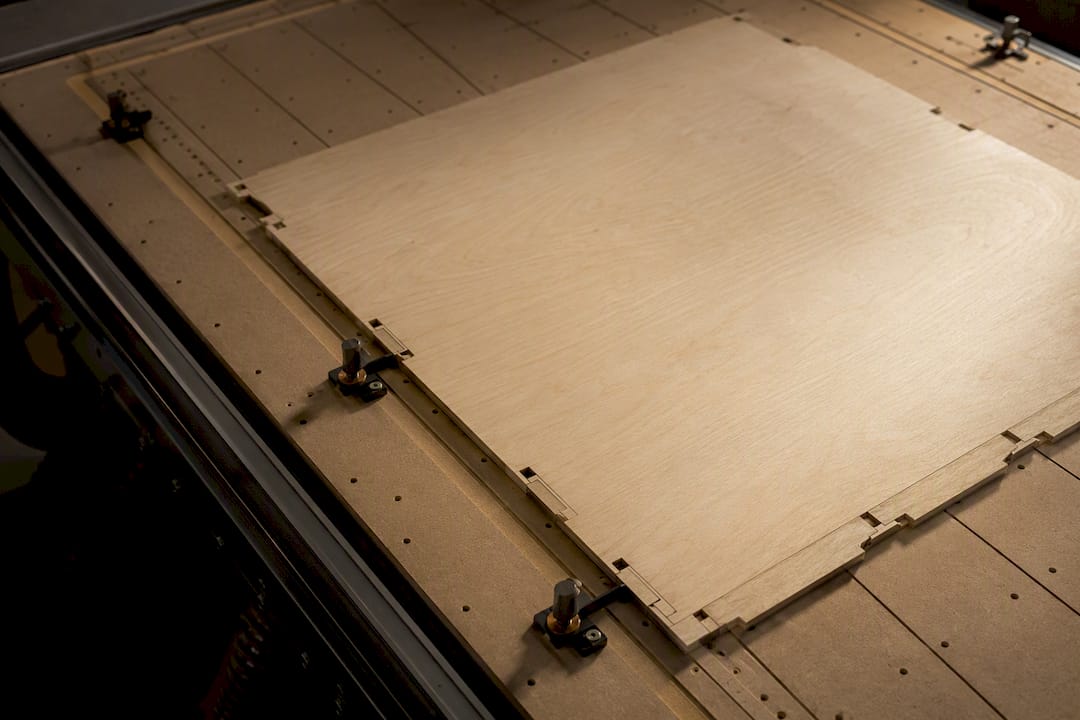
Safety and guarding aren’t optional extras. Cutters must be properly guarded and workpieces securely held before cutting starts, and aggressive climb milling raises the risk if either is inadequate, per SafeWork NSW’s hazard guidance for routers and CNC routers. Guarding is the primary control, and operators need training, lockout procedures and supervision whenever a guard comes off for maintenance.
Before running a climb pass, check:
- Tool sharpness and edge condition, since a dull cutter in climb mode is more likely to grab than cut cleanly.
- Spoilboard flatness and vacuum zone integrity across the full sheet.
- Chip evacuation paths are clear so chips aren’t re-cut under the cutter.
- Interlocks, guards and emergency stops are functioning before the cycle starts.
Pro Tip: Run a single light finishing pass on a sacrificial offcut before committing a climb strategy to a full production sheet.
Dialling in feeds, speeds and pass strategy
Getting climb milling to pay off is mostly about matching feed-per-tooth and spindle speed to the pass you’re running, not just the material.
- Use conventional cutting for bulk stock removal with a heavier chip load, since the upward force is more forgiving of workholding imperfections at depth.
- Reserve climb for a light finishing pass, typically a smaller depth of cut than your roughing pass, to take advantage of the cleaner shear without overloading the setup.
- Replace straight vertical plunges with ramps, spiral entries or lead-ins wherever possible; this protects tool life and entry quality, particularly on laminated panels and aluminium, according to Woodworking Network’s guidance on lead-ins and ramps.
- Watch for a fading finish or a change in cutting sound partway through a programme; that’s usually the cue to check tool wear before it affects the next part.
Australia’s own vocational training standard for milling, MEM07007, lists competency in both climb and conventional technique and understanding the effects of varying speeds and feeds as core outcomes, which is a reasonable argument for conservative, documented trials before changing a proven programme.
Shop-floor checks and troubleshooting for climb milling
Switching a nesting router or machining centre over to climb milling goes smoother with a short, repeatable process rather than guesswork.
- Confirm the spoilboard is flat and freshly flycut, and that vacuum zones are sealed with no leaks around the part outline.
- Check cutter sharpness; a worn edge is far more likely to grab or chatter in climb mode than in conventional.
- Run a single light test pass and inspect the finish and listen for chatter before committing to a full sheet.
- If you see pull-in or the part shifting, that usually points to backlash, weak vacuum or too aggressive a depth of cut for the current setup.
- Persistent chatter after ruling out tool wear and workholding often means the machine’s rigidity or drive components need attention.
When chatter or pull-in keeps recurring despite a clean setup, it may be time to look at drive-side upgrades such as ball screws or zero-point fixturing rather than fighting the programme parameters. Our articles on zero-point fixturing and chip evacuation for aluminium work cover both sides of that decision in more detail, alongside our notes on CNC surface finish targets for finish passes.
How Anderson Group Australia can help with machine and fixturing choices
Getting reliable results from climb milling comes down to the machine underneath the programme. Anderson Group Australia supplies wood machinery for panel processing and nesting, including the Genesis PLUS nesting platform, alongside Focaseiki machining centres for metal and aluminium work where climb strategies are common on finish passes. If backlash, table rigidity or vacuum performance issues affect your ability to use climb milling where it would help, consider discussing machine and fixturing options.
We recommend checking specifications against the relevant product page before making a decision, since machine capability varies by model. Get in touch to discuss your application or request a quote through our machines range, or explore the Genesis PLUS nesting CNC directly if panel processing is your focus.
Sources
- Routers, CNC routers and spindle moulders — hazard identification (SafeWork NSW)
- Climb milling vs conventional milling (Washington University machine shop guide)
- How to optimise vacuum with spoilboard preparation (Woodworking Network)
- Training
FAQ
What are the disadvantages of climb milling?
Climb milling needs low backlash, a rigid machine and strong workholding, because the cutting forces pull the workpiece into the cutter rather than pushing it away. On a machine with worn ball screws or loose fixturing, that pull can cause the part to grab or shift, so SafeWork NSW flags inadequate guarding or workholding as a real safety risk with aggressive climb passes.
What’s the difference between CNC and VMC?
CNC refers to computer numerical control, the broad category of machines that follow programmed toolpaths, which includes routers, mills, lathes and machining centres. A VMC, or vertical machining centre, is a specific type of CNC machine with a vertically oriented spindle, commonly used for milling metal parts.
What does “climb cutting” mean?
Climb cutting, also called down milling, feeds the workpiece in the same direction the cutter is rotating, so each tooth bites in at maximum chip thickness and thins out as it exits. This produces a cleaner shear and less rubbing than conventional cutting, according to a machine shop comparison from Washington University.
What are the advantages of climb milling?
Climb milling generally gives a better surface finish because the chip starts thick and thins out, avoiding the rubbing phase that conventional cutting has at the start of each tooth’s engagement. It also throws chips clear of the cutting path rather than leaving them to be re-cut, and its downward force can help hold a well-fixtured workpiece in place during light finishing passes.