
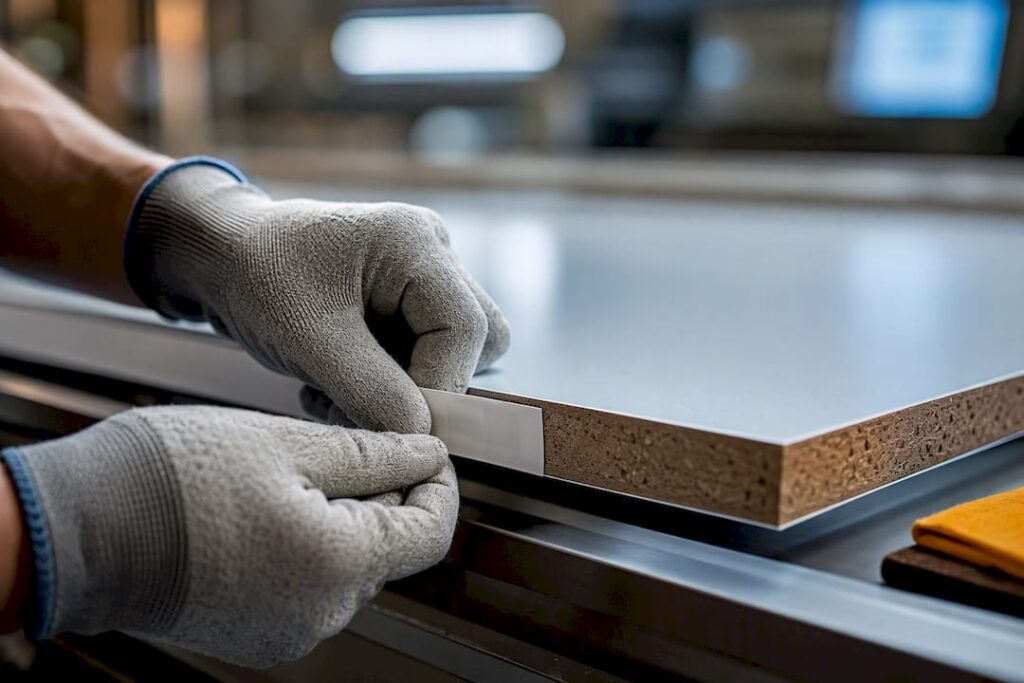
Automated print-and-apply or inline sticker-applicator systems integrated with your CNC nesting controller are the fastest way to guarantee panel identification and cut assembly errors. Before you spec anything, check three things: panels per hour, label size and adhesive needs against your substrate, and whether your line needs inline application or can run offline. Get those right and the hardware choice becomes straightforward. Anderson Group Australia has spent decades around panel processing lines and sees the same three questions decide most projects.
TL;DR:
- Inline print-and-apply systems are best for high-mix, high-volume nested production to ensure labels match the exact cut data.
- Compatibility between CAM exports (CSV or XML) and the printer interface is crucial, requiring testing with actual label data before buying equipment.
- Labels should be chosen based on substrate type and handling needs, with thermal or barcode labels suitable for different materials and scanning requirements.
- When specifying hardware, define the apply method, mounting, software features, and maintenance needs clearly, and pilot the system on real production panels.
- Automating labelling is most cost-effective for large, repeatable runs, while manual or hybrid methods suit small or bespoke jobs due to lower setup overhead.
Table of Contents
- What are panel labelling systems and how do they fit CNC workflows?
- How does labelling integrate with CNC software and controllers?
- Which label types and materials suit panel production?
- What hardware and software should you specify?
- How do you choose and implement a labelling system?
- Anderson Group Australia’s experience with panel processing
- When does automating panel labelling actually pay off?
- How Anderson Group Australia can help with your panel processing line
- Sources
- FAQ
What are panel labelling systems and how do they fit CNC workflows?
A panel labelling system for CNC is any setup that prints, stores, or applies identification data onto a cut panel so it can be tracked through cutting, edging, and assembly. Three system classes cover most shops: pre-printed roll labels applied by hand or a simple applicator, inline print-and-apply units mounted directly on the CNC or conveyor line, and offline print-and-apply stations that run separately from the cutting cell.
Where labelling sits in the line changes the outcome. Printing before cutting works for simple batch jobs but risks a mismatch if the nest changes late. Labelling inline, right after the panel exits the CNC, keeps the label tied to the exact cut data and suits high-mix, high-repeat runs. Labelling after cutting, at a separate station, gives more flexibility for irregular shapes but adds a handling step.
- Pre-printed rolls: cheapest to deploy, best for stable, low-variation runs.
- Inline print-and-apply: labels print and place automatically as panels leave the CNC, ideal for nested cabinetry runs with high part counts.
- Offline print-and-apply: decouples labelling from the cutting cell, useful when floor space or cycle time near the CNC is tight.
Shops running short, bespoke jobs often stick with office-printed labels rather than integrate anything at the CNC, a practice confirmed repeatedly on trade forums like WOODWEB’s CNC discussion boards. Higher-volume nested production tends to justify the integration cost.
How does labelling integrate with CNC software and controllers?
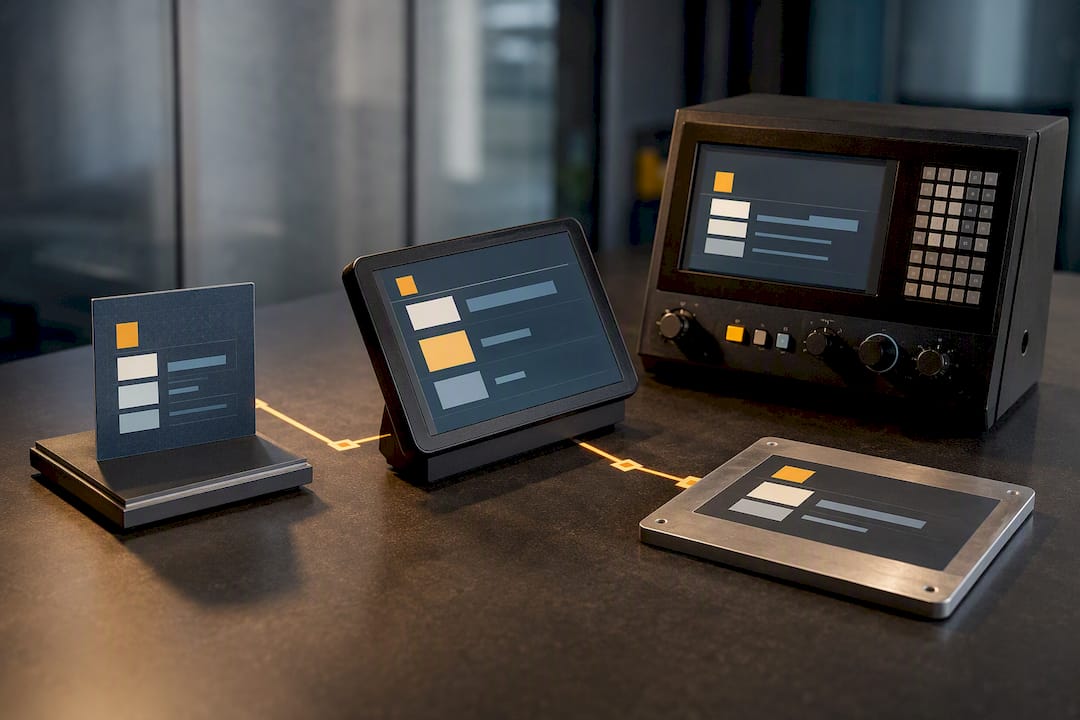
Label data has to move from your nesting or CAM package to the printer without manual re-entry, or the whole point of automation is lost. Most systems handle this through a CSV or XML export from the nesting software, or through a direct API call that triggers the printer the moment a panel finishes cutting.
Before committing to hardware, run through this sequence:
- Confirm what format your CAM software exports (part ID, dimensions, edge banding codes) and whether the labelling unit accepts it natively.
- Check the physical interfaces on both sides. Most CNC controllers offer Ethernet or discrete I/O for print triggers; older machines may only expose serial ports.
- Test a sample label export through the full chain, from nest to print trigger to physical placement on a scrap panel.
- Verify placement accuracy across a run of at least twenty panels before signing off on commissioning.
Microvellum’s published guidance on auto-labelling system label requirements is worth reading even if you run different CAM software, because it spells out the file and format expectations that trip up a lot of first-time integrations. CAM export compatibility is very often the actual limiting factor, not the printer hardware itself.
Pro Tip: Ask your CAM vendor for a sample export file before you order any labelling hardware. Feeding that file into the applicator’s software during evaluation catches mismatched fields weeks before install day, not after.
Which label types and materials suit panel production?
Label choice depends on your substrate, your scanning needs, and how much handling the panel goes through before assembly. A 102 mm × 63 mm sticker label roll on a 76 mm core is a common in-market size for panel identification, sold in runs of 2,000 labels per roll.
- Direct thermal or thermal-transfer print-and-apply: prints on demand, no pre-printed stock to manage, best for variable part data.
- Pre-printed labels: lowest unit cost for repeat SKUs, but inflexible if nest layouts change.
- Barcode and QR formats: both are common for shop-floor scanning; QR handles more data density if you’re encoding assembly instructions alongside the part ID.
Adhesive compatibility matters more than most specs sheets admit. Melamine and laminated MDF shed dust that weakens weak adhesives, while raw plywood and veneer surfaces can absorb adhesive and leave residue on removal. If panels get edge-banded after labelling, keep the label clear of the banding path or it will jam the feed.
What hardware and software should you specify?
Write your RFQ around specifics, not vendor names. Vague specs get vague quotes.
- Printer/applicator class: define the apply method (tamp, blow, wipe), stroke length, reach, and label core size the unit must accept, including the 76 mm core size common on panel label rolls.
- Mounting and indexing: confirm how the applicator mounts relative to your conveyor or exit rollers, and what tolerance the indexing system holds for repeatable placement.
- Software features: require template editing, support for your barcode symbology, CSV and API import, and a logging function that timestamps every print and apply event.
- Consumables and maintenance: get ribbon life, printhead replacement intervals, and applicator wear-part costs in writing before you calculate total cost of ownership.
Fully integrated options also exist, where labelling is built into the panel line itself alongside infeed, drilling, and unloading, as seen in machines like the NCG3712LE label line CNC. That approach suits shops building a new line from scratch more than those retrofitting an existing CNC.
How do you choose and implement a labelling system?
Run the evaluation as a checklist, not a gut call. Compare candidate systems against your actual throughput target, your placement tolerance, and the label format your substrates demand.
- Set a minimum panels-per-hour figure and test candidate systems against it, not against a spec sheet claim.
- Confirm the applicator handles your adhesive and substrate combination, especially if you run a mix of melamine, MDF, and veneer.
- Verify the integration interface (Ethernet, serial, or discrete I/O) matches what your controller actually exposes.
- Ask vendors directly about sample-testing policy, commissioning support, and spare parts lead time before you sign anything.
Once you’ve shortlisted a system, pilot it before committing to full deployment. Print and apply labels on your actual production substrates, not generic test stock, and run enough panels to catch placement drift over a shift, not just the first ten. Update your operator SOPs and retrain the floor before go-live, because a system that works perfectly in a demo can still fail if operators don’t know how to clear a jam or reload a roll correctly.
Budget for three cost areas: the applicator and printer hardware, integration and software licensing, and commissioning time on-site. Timelines from procurement to full deployment typically run in phases, sourcing and quoting, followed by installation and integration testing, then a pilot run before full production handover.
Pro Tip: Pilot on a panel with pre-banded edges as well as unbanded stock. Adhesive failure modes that never show up on a lab test bench often appear the moment a label meets a banded edge under real production speed.
Anderson Group Australia’s experience with panel processing
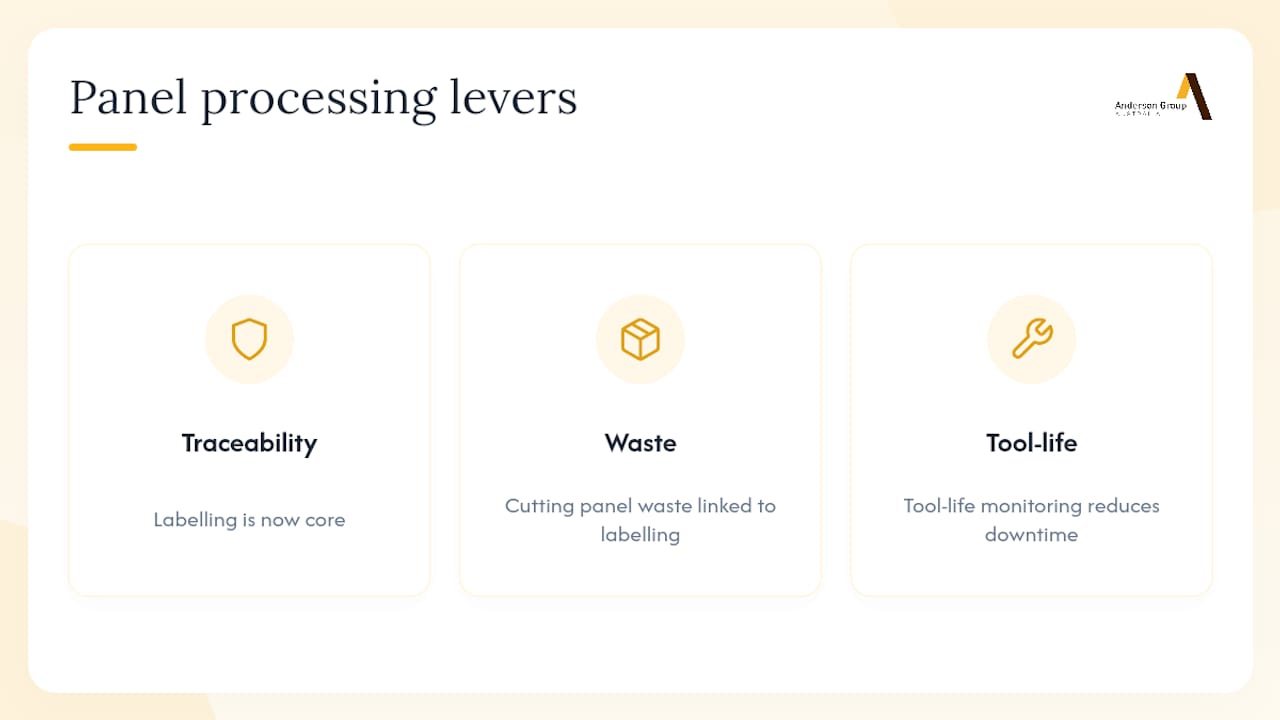
A well-established company in panel processing equipment has observed labelling shift from an afterthought to a core part of traceability planning. Shops chasing lower scrap rates and more predictable runs often find that cutting panel waste and accurate labelling are part of the same conversation, since both depend on tight data handoff between nesting software and the machine floor.
Readers building out a full nested production workflow may also find value in Anderson Group Australia’s guide to nested-based manufacturing and its coverage of tool-life monitoring, both complementary levers for reducing waste and downtime alongside labelling.
When does automating panel labelling actually pay off?
Automation costs capital and integration time; staying manual costs labour hours and invites labelling errors on repeat runs. The simplest rule: automate for high-volume, repeatable nested production, and keep labelling manual or hybrid for small, one-off, or highly bespoke jobs where integration overhead outweighs the labour saved.
— Anderson
How Anderson Group Australia can help with your panel processing line
Some suppliers of nesting and panel-processing machinery can advise on how a labelling system fits into your existing controller and workflow. If you’re mapping out a new or upgraded line, it can be helpful to discuss I/O requirements, sample label testing, and where in the process labelling makes the most sense for your throughput.

The best starting point is usually a direct conversation about your production profile rather than guessing from a spec sheet. Request a site consultation, ask about running a sample label test on your own substrates, or check the specifications on the Genesis PLUS nesting CNC machine to see how labelling integration typically slots into a nesting line. If your production covers furniture or cabinetry work specifically, our furniture and cabinetry industry page outlines the machinery options most relevant to your setup, and our full woodwork CNC machinery range gives a broader view of what pairs well with an automated labelling line. Reach out and we’ll help you work out what fits.
Sources
Check Microvellum’s label requirements before ordering hardware, review the NCG3712LE label line machine for an integrated example, and browse Anderson Group Australia’s machinery guides for related process resources.
FAQ
What is a CNC panel labelling system?
It is hardware and software that prints and applies identification labels, typically barcodes or QR codes, onto panels as they move through a CNC production line for tracking and assembly accuracy.
Should labels print before or after cutting?
Both approaches work in practice: pre-printing suits simple, stable jobs, while printing after cutting, either inline or offline, keeps the label tied to the exact panel that was cut, which better suits variable nested runs.
What label size is common for CNC panel work?
A widely used in-market size is 102 mm × 63 mm on a 76 mm core, though the right size depends on your applicator and how much data the label needs to carry.
Does Anderson Group Australia sell labelling systems directly?
Anderson Group Australia specialises in CNC nesting and panel-processing machinery and advises on how labelling integrates with that equipment; speak with the team about your specific production line for tailored guidance.
What’s the biggest integration risk with CNC labelling?
Mismatched data handoff between the CAM or nesting software and the labelling hardware is the most common failure point, which is why testing a sample export before ordering hardware matters more than comparing spec sheets.